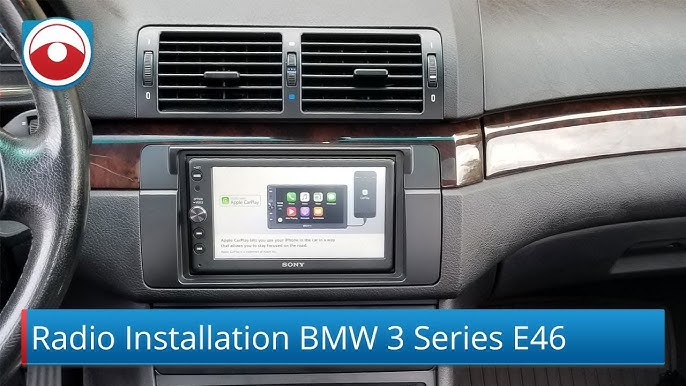
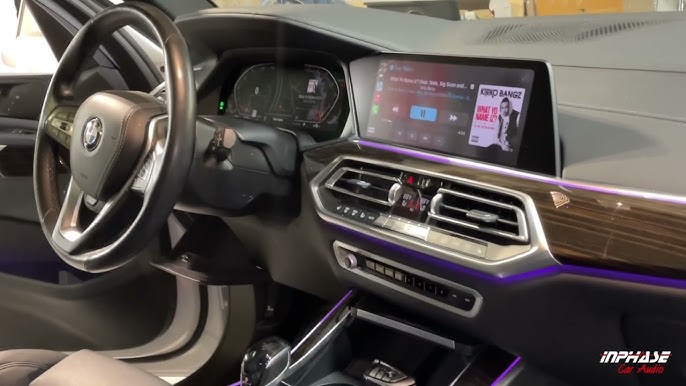
🔧 Introduction
Welcome to Part 2 of Brian C’s comprehensive BMW audio system upgrade series. In Part 1 (link to first post), we covered head unit integration, planning, and initial disassembly. Now in Part 2, we move deeper into amplifier installation, signal routing, speaker upgrades, and final tuning. Whether you’re an audiophile or just tired of underwhelming stock sound, this guide walks you through a high-performance DIY approach.
🔍 Recap from Part 1
Before continuing, let’s quickly summarize the work completed so far:
- Factory head unit retained for OEM look
- Pre-wiring harness inspected
- Power cable and signal paths planned
- Subwoofer location chosen
🛠 What We’re Doing in Part 2
This phase focuses on:
- Installing and wiring the aftermarket amplifier
- Replacing the OEM door and rear speakers
- Mounting and wiring the subwoofer enclosure
- System testing and initial tuning
🔌 Amplifier Installation
Chosen Amp: Alpine PDX-V9 5-channel (or similar)
- Location: Under trunk floor panel (custom MDF amp rack fabricated)
- Power: 4-gauge cable from battery through grommet, fused near the battery
- Ground: Sanded contact point near trunk side panel
- Signal: High-level inputs tapped from the factory head unit (or via LOC/processor)
- Remote: Tied to accessory line or powered via signal-sensing mode
🔧 Tip: Run RCA and power cables on opposite sides of the car to reduce interference.
🔊 Speaker Upgrades
Front Speakers: Focal, Morel, or Bavsound drop-ins
Rear Deck: Coaxial replacements (used only for rear fill)
Tweeters: Mounted into stock sail panel pods with adapter plates
- Crossovers mounted securely behind door panels
- Foam rings used to seal between speaker and door to improve midbass response
🔉 Subwoofer Setup
Enclosure: Custom 10″ sealed box mounted in corner of trunk
Sub: JL Audio W3 or equivalent
Amp Channel: Bridged mono from 5th channel
Wiring routed cleanly using split loom and zip ties for professional finish.
🎚 System Tuning
Initial tuning done with:
- Flat EQ on the head unit
- Crossover points: ~80Hz HPF for door speakers, LPF ~80Hz for sub
- Gain matching with test tones and multimeter
- Listening tests using FLAC tracks and soundstage tuning
🎧 Pro Tip: Adjust fade and balance to center image at the driver’s seat. A slight delay or level cut on passenger-side speakers can enhance imaging.
📷 Brian C’s Build Notes
Brian shared key insights during the build:
“The OEM system sounded flat and weak, especially on the highway. With the amp and speaker upgrade, it’s like driving a concert hall. Bass is tight, highs are crisp — totally worth the time and effort.”
He also recommended:
- Keeping a build journal
- Using heat shrink on all connections
- Buying a quality panel removal kit to avoid broken clips
🧰 Tools & Materials Used
- Panel popper tools
- Wire strippers and crimpers
- Test tone CD / App
- Multimeter
- Foam speaker baffles
- Tesa tape / split loom / zip ties
✅ Results & Final Thoughts
The transformation is massive. Brian now has:
- Rich, full-range sound with tight bass
- Retained OEM look and iDrive functionality
- Completely reversible setup
This wraps up Part 2 of the BMW audio system upgrade series. Stay tuned for Part 3, where we’ll dive into DSP integration and advanced tuning techniques for audio perfection.


